The Prophecy Dungeon is one of the finest pieces of endgame content available in Destiny 2, perfect for those who wish to complete an exhilarating challenge. Guided by Eris Morn and The Drifter, this three-Guardian activity brings players into the realm of The Nine to fight Taken enemies and learn more about The Darkness. Design-wise, The Prophecy is arguably the most visually appealing piece of content that Destiny 2 has to offer. Every encounter feels unique, yet each puzzle builds upon familiar concepts introduced in the dungeon without seeming repetitive and overbearing.
Since Prophecy is end-game content, it's important to know what to bring. Raid Banners can be used before each boss encounter, and every part of this dungeon has many redbars to fight off as each task is completed. Weapons are not locked, so be sure to bring every best Destiny 2 weapon available. Some of the best weapons to bring are Witherhoard, Anarchy, Grenade Launchers with Blinding Grenades, and Auto Rifles with the best enemy clearing perks. Additionally, the Trials of the Nine weapons will be available for rewards, along with an updated perk pool, at the start of Season of the Lost - the next season of Destiny 2 that begins Aug. 24.
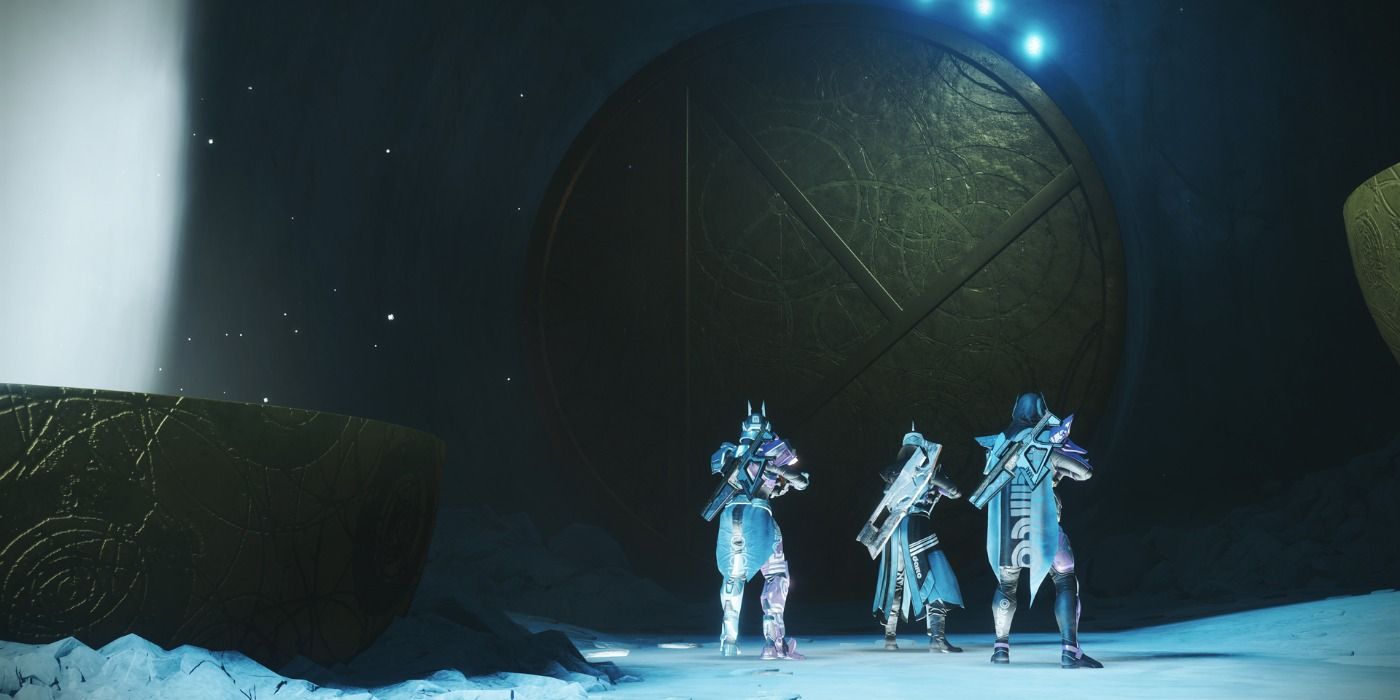
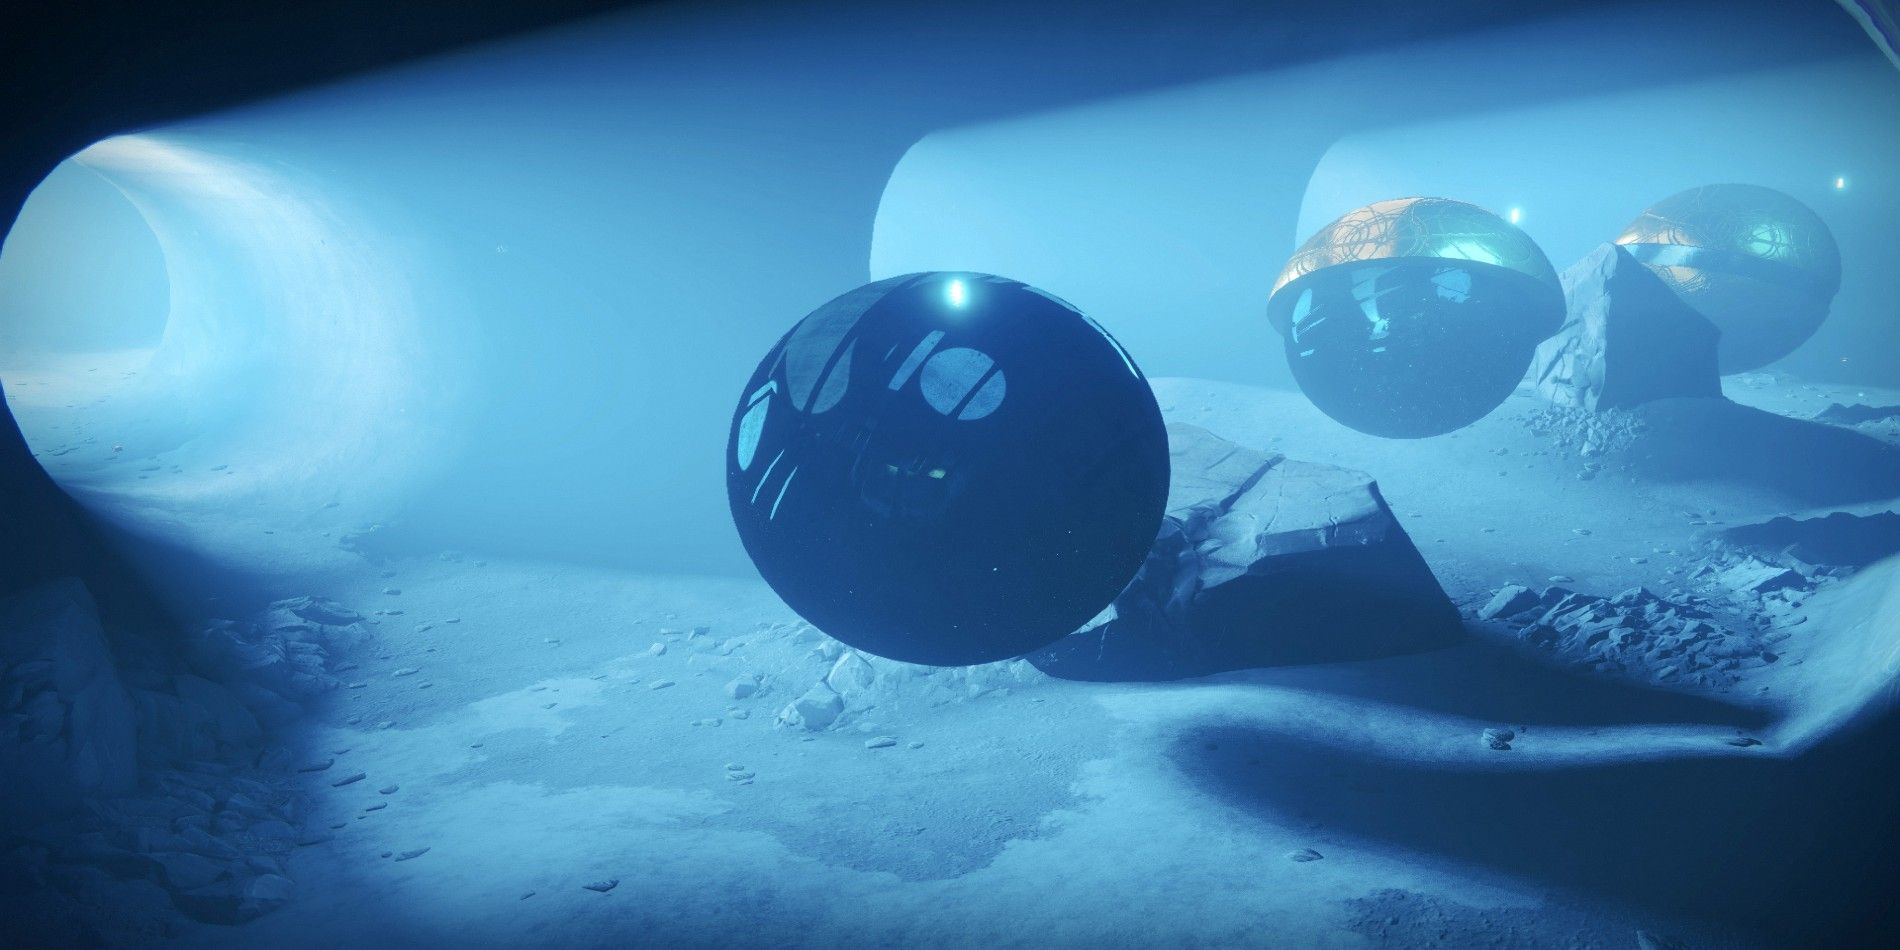
The Prophecy Dungeon is accessed in the Destiny 2 Tower. Upon launch, the dungeon begins aboard The Drifter's ship. Entering the teleporter will bring the fire team to the realm of The Nine, and they'll be immediately met by Taken Thralls and Taken Knights in a long pathway. Additionally, small streaks of light and dark energy will surround the player's screen depending on whether or not the Guardian is in the light or shadows, respectively. This is important to pay attention to, as the energy on the screen indicates which kind of mote, light or dark, will spawn from a Taken Knight after it is defeated.

At the end of the pathway are two platforms, one emitting dark energy, and the other light. Five light motes and five dark motes must be gathered in order to make the energy signatures disappear. Defeating a Taken Knight in Destiny 2 spawns three motes, so two of the Knights must be defeated in order to get the necessary amount of motes. Once enough of the motes are gathered head to the appropriate energy signature and press the "fire weapon" action to rid the platform of the energy. While this part of The Prophecy dungeon allows players to respawn, and death will force all gathered emotes to disappear. This procedure will unlock a door leading to another pathway, repeating this part once more. After the second door is unlocked, a pathway leading up out of the tunnels will bring the fire team to the second encounter.
The second encounter is on a small platform, covered in sand and pillars. This is the first boss encounter of Prophecy, so be sure to use a Raid Banner to replenish all ammo and abilities. In the middle of the platform is a Toland-wisp, touch it and the encounter begins. Taken Psions, Knights, and the Taken Cabal Boss will all spawn in the arena. Additionally, two platforms emitting each of the same light and dark energy signals will activate.
Every time an energy platform has deactivated the rings around the outside of the arena will shift, changing the shadows and light of the arena. Defeat the Knights and gather the motes, deactivate the light and dark energy, and the Boss' shield will fall. This begins a timed damage phase, and he can be defeated in one go, but if not, the platforms will reset and the process will need to be repeated. Once this Destiny 2 Boss is defeated, claim the chest reward and have everyone stand on the purple sand to begin the next encounter.

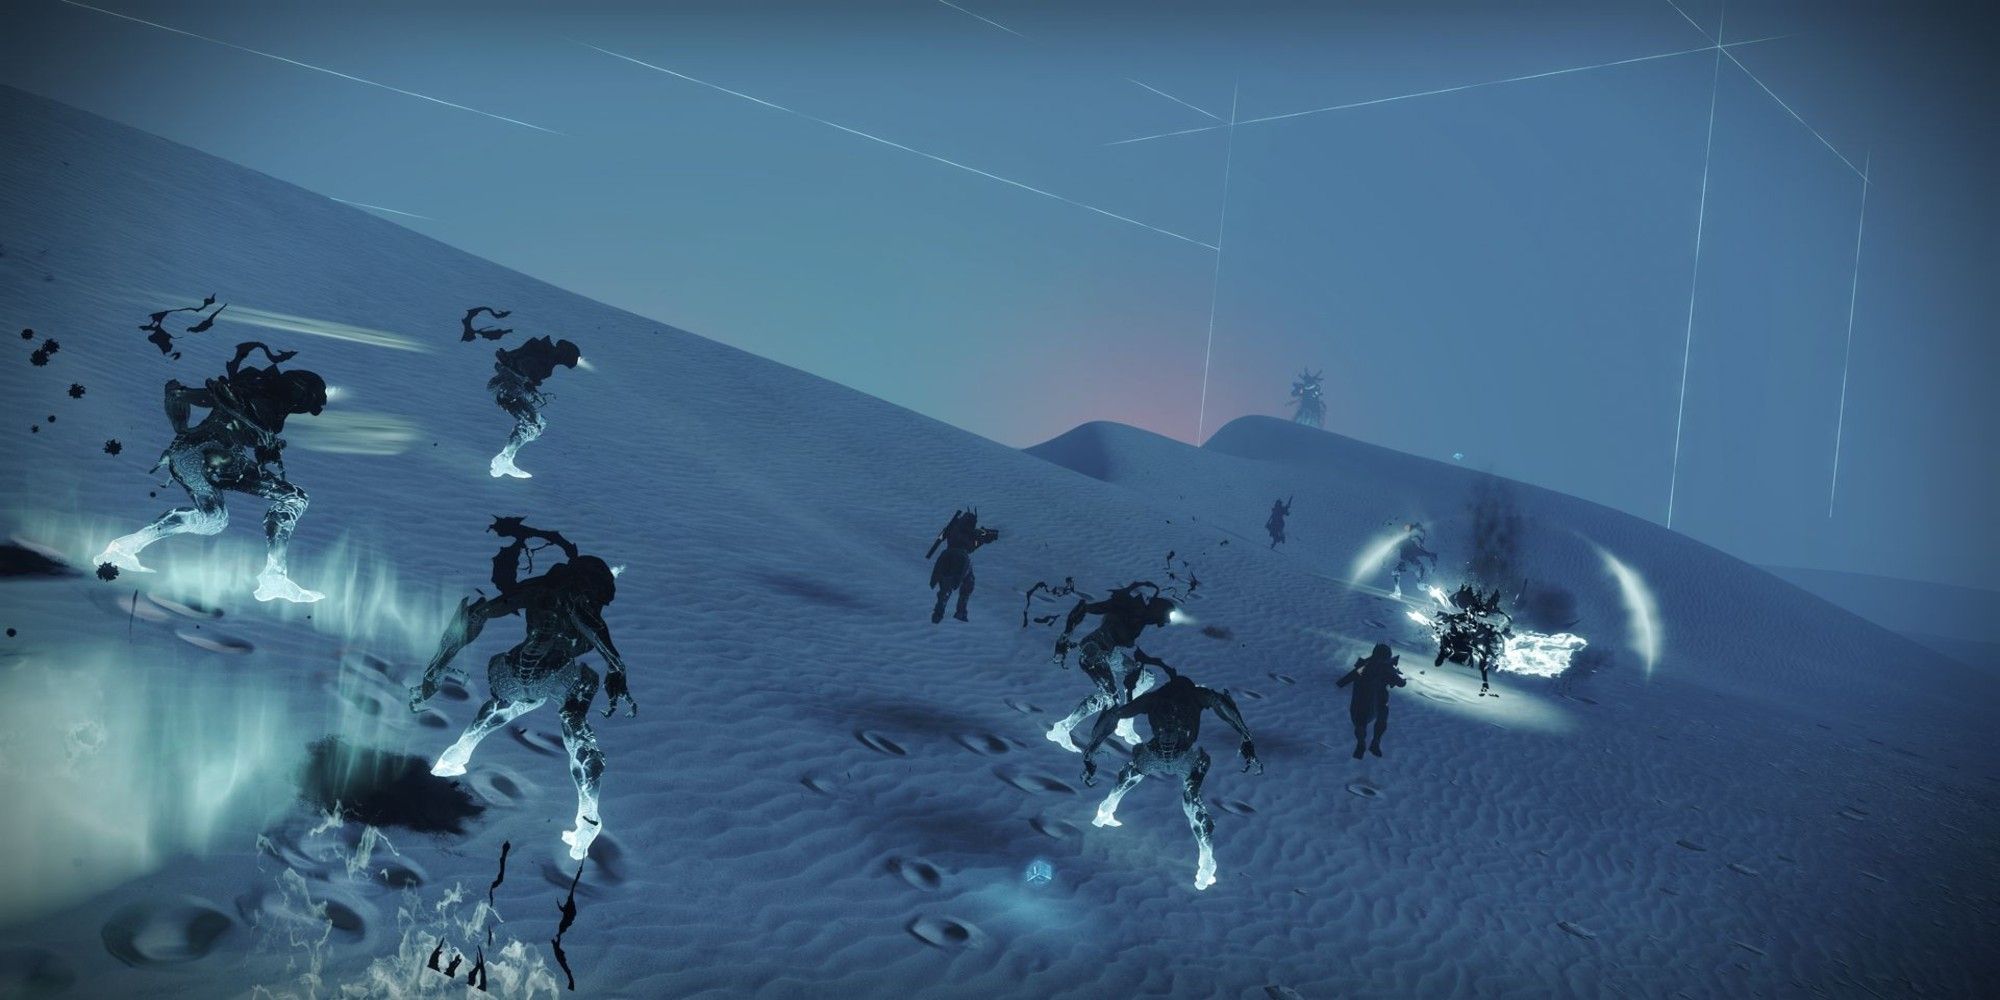
The third encounter of Prophecy begins with the fire team in a desert area full of steep dunes of sand. In the distance, gatherings of light can be seen in the night. Use the Sparrow to drive to them, but be mindful of the invisible Vex Minotaurs. They don't need to be defeated, but they can deal some damage if the team isn't careful. Once the team reaches the lit-up area and defeats the Taken, deactivate the Taken bubble and look for the Toland-wisp. It will guide the team to the next area, where the objective is repeated multiple times until a pink light is seen. Go to it, and enter the structure it is emitting from to begin the next encounter.
The fourth encounter of Destiny 2's Prophecy dungeon, takes place in a room with multiple energy-emitting platforms and enemies. It's a fairly straightforward encounter, simply look for the Toland-wisp above any of the energy-emitting platforms. Wherever Toland is, that is the type of mote that needs to be gathered. Once the energy has been deactivated head to the center of the room with the team to be teleported to a different angle of the same room. The encounter is a repeated process of following Toland's guidance until the mini-bosses are reached. There isn't anything that needs to be done like the first boss encounter. Instead, these bosses can be damaged immediately. Once the bosses have been defeated, claim the rewards chest and leave the structure.
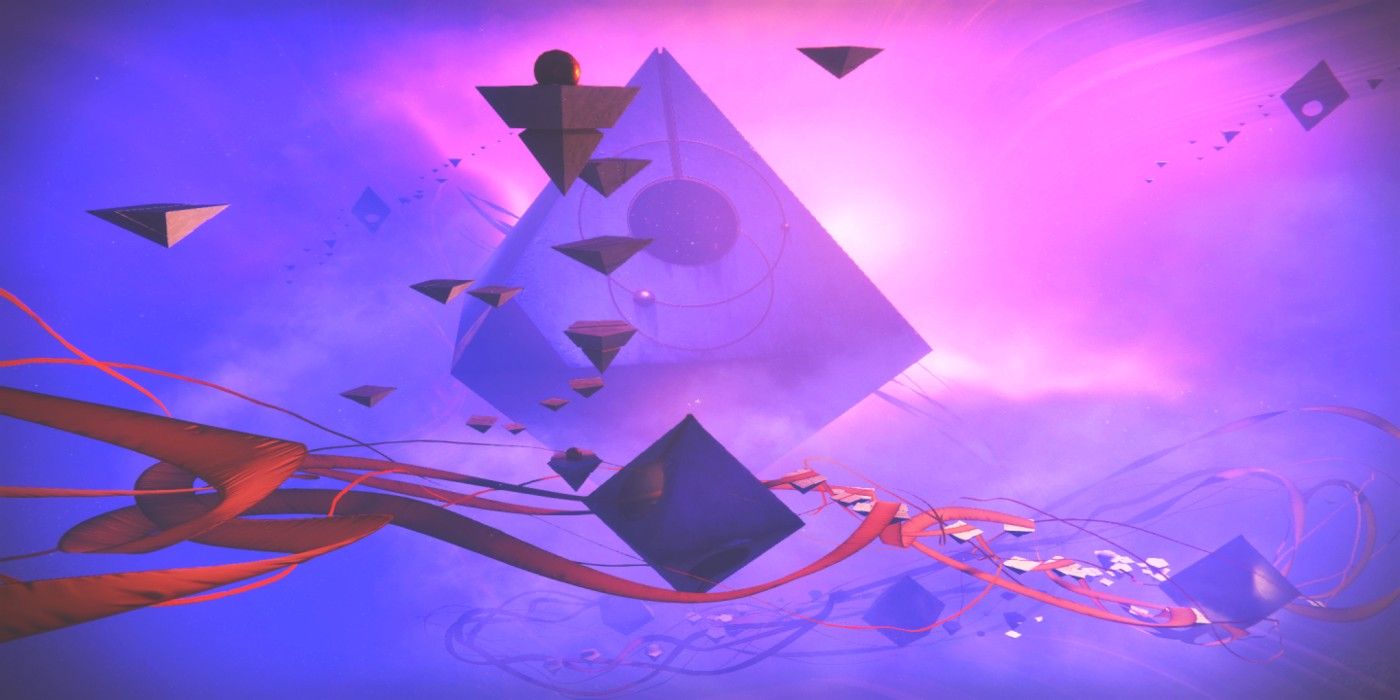
A giant Taken Fallen Captain will be outside of the structure. Follow it through the desert to reach the beginning of the fifth encounter. The fifth encounter of Prophecy has the team travel by foot and Sparrow across a variety of pathways. Often referred to as the Rainbow Road of Destiny 2, this track has tons of twists and turns that make falling off of the sides easy. Carefully navigate all the way down through the tracks and get to the lowest level platform. There isn't a singular "correct path" to take, it's more about being careful not to throw caution to the wind. At the final platform will be a beam that brings the team up into another structure, where the final encounter of Prophecy awaits.

Follow the stairway inside the final structure of Prophecy to a triangular arena. Place a Raid Banner down to replenish all ammo and abilities, and seek Toland in the middle of the arena. Touching him begins the encounter, spawning Taken Psions, Knights, and three Taken Fallen Captains in each corner of the arena. In front of each Captain is a structure emitting energy. Defeat the Knight to get the need motes, deactivate the energy forcing the Captain out of protection, and defeat the Captain. Defeating all three Captains will activate the purple sand in the middle of the arena. Stand in it as a team to be teleported to the final Boss.
The final Boss in Destiny 2's Prophecy dungeon will continue its way down the long row of platforms and must be continuously attacked before it reaches the end. Once the Boss reaches the end of the platform it will teleport out, and the damage phase ends. The setup in the triangular room will need to be repeated in order to return to the damage phase. The most important tip to keep in mind during this phase is that the "Dark Entropy" effect will appear. It will count up to 10, and any player who has Dark Entropy x10 will instantly die. Damaging the Boss enough will prevent Dark Entropy from increasing. Additionally, one of the final Boss's attacks is a large sphere that teleports anyone who gets caught towards the back of the pathway.
Once the final Boss of Prophecy is defeated, that's it. The group will be teleported to a room where they can claim their final reward. Prophecy offers weapons of The Nine, and these rewards earned through the Destiny 2 dungeon are the only way to acquire them.
Destiny 2 is available on PS4, PS5, Xbox One, Xbox Series X/S, and PC.
https://ift.tt/3gu089a
August 25, 2021 at 12:05AM


